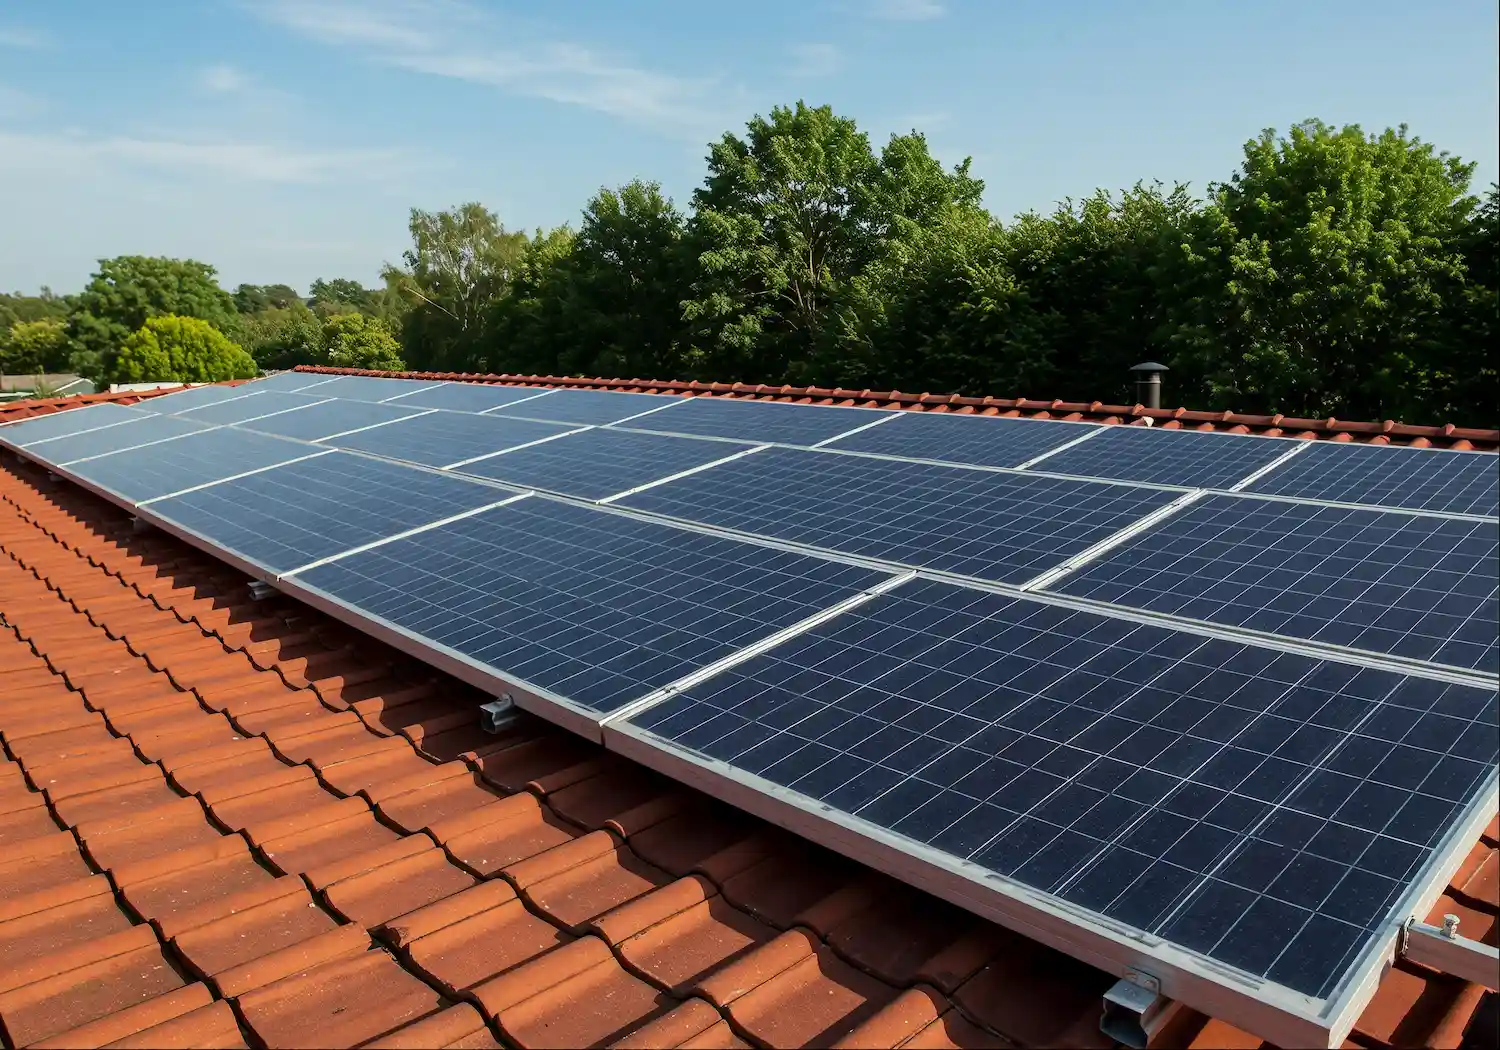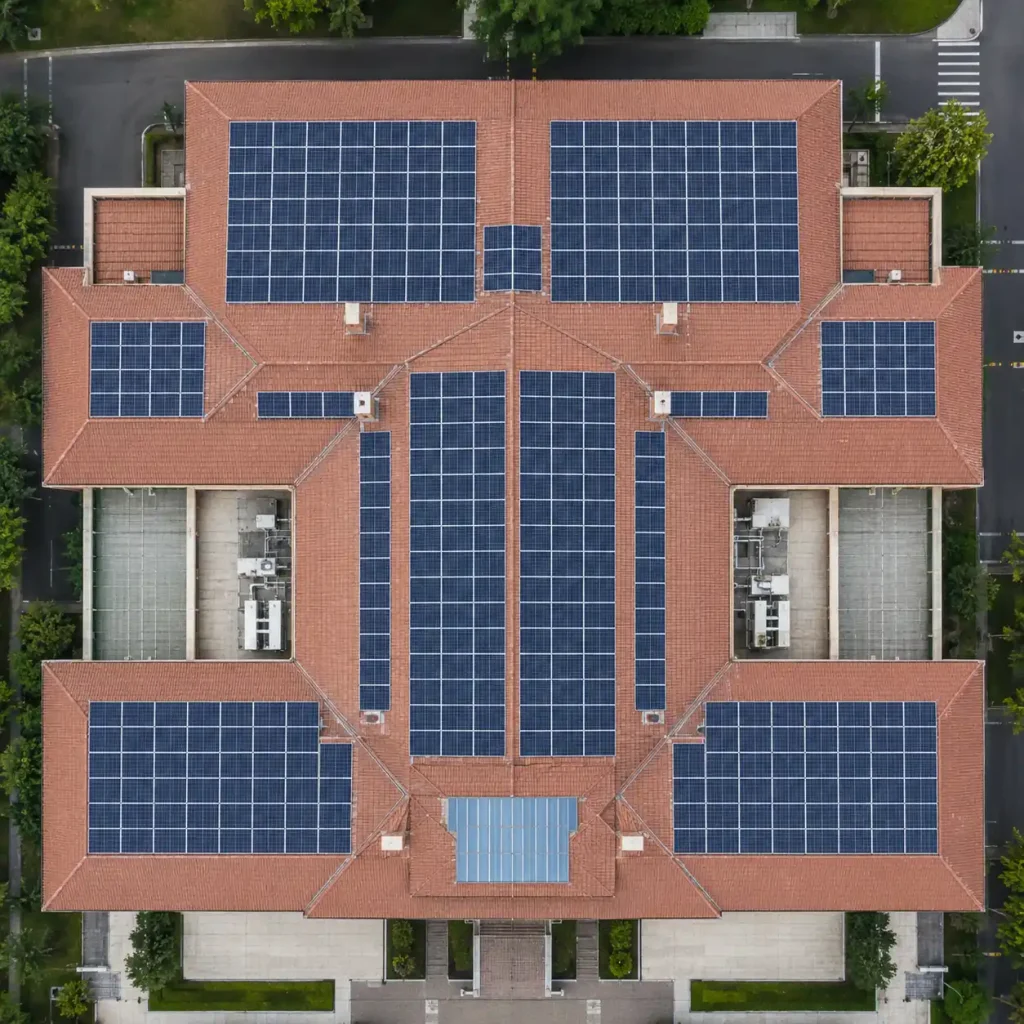
Installing solar panels on Roof Tiles might seem complex, but with the right engineering approach and field techniques, the process becomes highly manageable. For EPC contractors and professional installation crews, the challenge lies in mounting a heavy, wind-catching PV system onto a brittle, non-load-bearing architectural skin without compromising the roof’s waterproofing.
In this guide, we will walk you through the precise field steps to successfully mount solar panels on roof tiles using the engineered racking systems provided by SR Solar. Whether your project features clay, concrete, or slate tiles, understanding the structural mechanics of tile roof mounts provides the flexibility and long-term strength needed for a durable, zero-callback installation.
Prepare Your Roof for Installation
Before jumping straight into fixing hardware, it is crucial to assess the existing roof condition and verify that your structural foundation is secure. At SR Solar, we design our tile roof solar mounts to accommodate a wide variety of tile profiles. These systems utilize versatile, heavy-duty hooks that ensure a high-capacity attachment to different tile surfaces—making thorough pre-construction planning the most important first step when learning how to install solar panels on roof tiles.
First, inspect the roof for any cracked, loose, or weathered tiles that could interfere with the structural integrity of the array. It is equally important to clear the installation zones of any debris or organic obstacles.
In our project experience, a common EPC error is assuming the roof rafters are perfectly spaced. Before moving any tiles, use a chalk line or electronic stud finder to locate the exact centerlines of the underlying wooden rafters or steel purlins. Remember, the tiles themselves cannot bear the dead load or wind uplift forces of a PV system; every vector of force must transfer directly into the building’s primary framing to comply with structural standards like AS/NZS 1170.
Installing the Mounting System
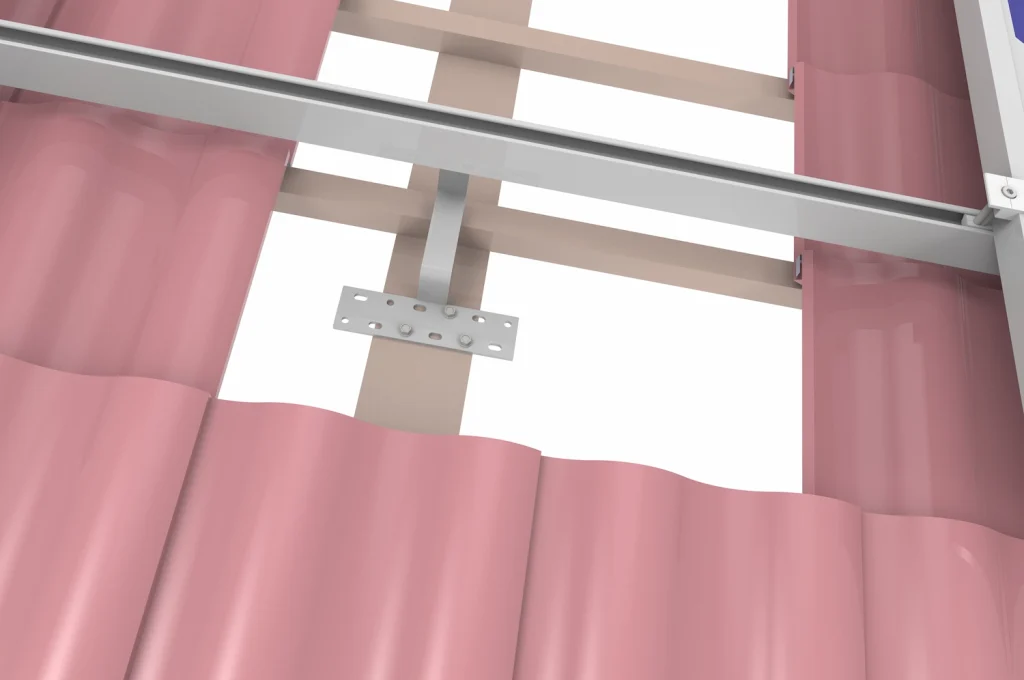
Now that the roof structure is verified and mapped, the next phase is to install the racking foundation. SR Solar provides a range of hook-based mounting systems that are specially engineered and stress-tested for tile roofs. Manufactured from high-tensile SUS304 stainless steel, these hooks feature adjustable slots to fit the natural contours of clay, concrete, or slate tiles, allowing for precise, level, and secure installation.
Start by sliding up the tiles covering your target rafters and attaching the hooks directly to the wood frame using premium wood screws. Alignment is key here: ensure the hook arm sits naturally in the valley profile of the tile below it to maximize clearance.
Once the hooks are securely fastened, the next critical step is tile grinding. Why is this necessary? If you place a tile directly back over an unnotched hook, it will ride high, creating a gap for driving rain. Use an angle grinder with a diamond blade to cut a neat notch out of the bottom lip of the tile so it reseats perfectly flush. Always maintain a 3mm to 5mm safety gap between the hook arm and the tile above it to prevent fractures when the racking flexes under wind or snow loads.
With the tiles cleanly replaced, you can now attach the structural rails. We utilize lightweight, high-strength AL6005-T5 anodized aluminum rails to support the panels. These rails act as the backbone of the entire solar panel system. Use a string line across the row to adjust the height via the hooks’ built-in slots, ensuring a perfectly flat grid before torquing the bolts to the recommended 15-18 Nm specification.
Mounting the Solar Panels
Once your aluminum rails are leveled and locked down, the solar panels can be mounted. The process involves aligning the PV modules with the rail system and securing them permanently using engineered mounting brackets. SR Solar offers a comprehensive selection of high-quality mid clamps and end clamps that ensure the modules remain completely stable and perfectly positioned for optimal sunlight exposure over a 25-year lifecycle.
Position your first module at the end of the rail row and clamp its outer edge using an aluminum end clamp. As you slide the subsequent panels into place along the row, secure the interior gaps using mid clamps.
While mounting the panels, it is essential to manage the electrical components, such as DC wiring, grounding loops, and microinverters, to ensure the system functions correctly and safely. A vital engineering detail here is using mid clamps equipped with integrated stainless steel grounding pins. These grounding teeth aggressively pierce through the non-conductive anodized coating of the aluminum module frames during tightening, establishing a continuous electrical bond across the entire array.
Simultaneously, use UV-resistant stainless steel cable clips to snap all wires securely up into the rail channels. Never allow DC cables to drape down and rest on abrasive tile surfaces, as constant wind friction will chaff the insulation over time, causing severe earth-fault risks. For the final high-voltage inverter and grid connections, we always recommend working with a certified commercial electrician to ensure the entire system is strictly up to code.
Conclusion
Learning how to install solar panels on roof tiles can seem challenging at first glance, but with the right engineering tools and an appropriate mounting system, it becomes a streamlined, logical process. At SR Solar, we strive to provide field-proven products that make structural installation as fast, simple, and secure as possible for EPC contractors worldwide. By deploying our specifically designed tile roof mounts and adhering to proper rafter-targeting and tile-grinding protocols, you can ensure that your solar panel system will remain structurally secure, completely watertight, and perform efficiently for decades to come.
FAQs
1. What happens if a roof rafter cannot be found where a tile hook needs to go?
If your array layout dictates a hook placement that falls between two rafters, you cannot anchor the hook into the thin plywood roof batten, as it lacks the pull-out strength to handle wind uplift. In this scenario, your crew must perform structural blocking. Remove adjacent tiles and install a solid timber block horizontally between the two closest rafters, then anchor your tile hook securely into that structural block.
2. Can solar panels be installed on brittle Spanish (S-shaped) clay tiles?
Yes, but clay tiles require far more care than concrete because they are highly brittle. When working on a clay roof, restriction of foot traffic is critical; installers should only step where tiles overlap directly above a rafter. Additionally, ensure you use a smooth diamond-blade angle grinder to notch the clay tile lip gently, preventing micro-fractures that could expand into leaks later.
3. How do SR Solar tile hooks handle extreme wind or snow loads?
Our SUS304 stainless steel hooks are engineered using cold-rolled structural manufacturing, providing exceptional yield strength. By adhering to spacing layouts calculated against local codes like AS/NZS 1170 or JIS C 8955, wind uplift and downward snow loads are safely distributed across a high density of rafter anchors, preventing structural deflection.
4. Is secondary sub-tile flashing necessary for hook installations?
In standard climates, a properly ground and flush-fitting tile provides a perfectly secure water-shedding barrier. However, for projects located in tropical or coastal zones prone to heavy monsoons or typhoons, we highly recommend adding an integrated flexible sub-tile flashing under the hook base plate as a redundant waterproofing layer.
5. Why are mid-clamps with integrated grounding pins required?
Anodized aluminum serves as an excellent weather insulator, but it also blocks electrical current. Without integrated grounding pins, each panel frame is isolated. The sharp teeth on our engineered mid clamps cut through this anodized layer during tightening, connecting the entire array structure to a continuous ground path for safe earthing.
Request a Technical Consultation and Custom BOM
Every tile roof features a unique combination of tile profiles, rafter spacing, and localized wind loads. Avoid the risks of generic racking layouts. Send us your project roof dimensions and wind/snow specifications, and the SR Solar engineering team will provide a tailored structural calculation sheet and an optimized Bill of Materials (BOM) to maximize your installation efficiency. Contact the SR Solar Technical Support Team today.